Fall is HERE :) This may seem like a weird spice combo but I guarantee you that you will LOVE this! The sweetness from the squash with the spicy cinnamon flavors of the Tex Mex will have you wanting more!
Be sure to add your recipe into your myfitnesspal app and to weigh/measure out all of your portions!
Serves 4 people
Time: 45 min
What you'll need:
2 Acorn Squash (1/2 squash per person)
8-9 oz Extra-Lean Ground Turkey
1/2 cup No Salt Added Black Beans, washed
1 Tomato
1 Red Pepper
1 Green Pepper
1 Yellow Onion (medium in size)
3 tsp Minced Garlic
1 Dash Cinnamon
1 Dash Cayenne Pepper
1 Dash Cumin
Salt and Pepper to taste
Directions:
1. Preheat oven to 400 degrees. Line a baking sheet with aluminum foil and lightly spray with cooking oil
2. Cut Acorn Squash in half (length wise), making sure to create a flat surface. Spoon out the seeds and strings out. Sprinkle with Salt and Pepper and place on the baking sheet face down. Cook for about 35 min, until inside flesh is tender. (Pull out when done and let cool while you finish up the Tex Mex filling)
*Before:
*After:
3. While the Acorn Squash is cooking, dice up your Tomato, Onion, and Peppers into small pieces. Wash and rise your Black Beans too
4. In a saute pan that's been lightly sprayed with cooking oil and that's on medium heat, add the Peppers. Cook them for about 5 min then add the onion. When the onions are translucent add the Ground Turkey, being sure to break up the Turkey as much as possible
5. When the Ground Turkey is almost cooked through add the Cinnamon, Cumin, Cayenne Pepper, Salt, Pepper, diced Tomato, and Black Beans. Cook for about 5 more min and take off of heat
6. Measure out 1 cup Tex Mex Filling and place on top of an Acorn Squash Half
7. Sprinkle some cheddar or sharp cheddar on top for an extra yum factor and enjoy!
*Tex Mex Filling makes about 4 cups worth, enough for 1 cup per 1/2 Acorn Squash
1 Serving Size:
1/2 Acorn Squash 86 calories
1 cup Tex Mex Filling 136 calories
Total: 308 Calories 19.3 grams Protein 1.5 grams Fat 35.9 grams Carbs
I just love these! They are super quick to make and easy to do! My favorite pie of all time is Apple Pie but your average 1/8 slice of pie is anywhere between 275-350 calories and has roughly 18-20 grams of sugar!! You only should be consuming about 25-30 grams of sugar a day! (Most Americans eat about 90 grams of sugar a day...yes you should be dying right now!) I consider these little babies "healthy" because they help with portion control, sugar intake, and they contain real apples!
If you want to know why I'm always opting for the "no sugars added" route and the true "all natural" ways, click the link below to learn more. Sugar Love (A not so sweet story) by Rich Cohen-National Geographic, will truly open your eyes about the history of sugar and our addiction to it. http://ngm.nationalgeographic.com/2013/08/sugar/cohen-text
But enough about why sugar can be bad for you and more about this recipe and why we should feel guilt free about these yummy, portion sized apple pies!
Be sure to add your recipe into your myfitnesspal app and to weigh/measure out all of your portions!
Serves 4 people
Time: 20 min
What you'll need:
4 Apple slices peeled, red or green (I used both)
4 Pillsbury Crescent Rolls, Reduced Fat
1/2 Tbsp Butter (I used I can't believe it's not butter, light)
2 1/2 tsp Light Brown Sugar
1/2 tsp Cinnamon
1/2 tsp Apple Pie Spice
Directions:
1. Preheat oven to 375 degrees, line a cookie sheet with Parchment Paper and lightly spray with cooking oil
2. Peel and slice your Apples
3. Place Apple slices, Light Brown Sugar, Butter, Cinnamon, and Apple Pie Spice into a microwavable bowl and stir it up
*Before:
4. Place the bowl in the microwave for 1 min, stir, and put it back in for 1 more min. Let this cool on the counter while you prepare your Crescents; it's easier to handle later
*After: cooked apples (that way you don't have hard crunchy apples when you bite into your Apple Pie Bite later). You can stop here and just enjoy these baked apples as a treat; so easy and so good :)
5. Roll out the Crescents (make sure they are pulled apart into separate rolls) and place 1 Apple slice per roll, drizzle a little of the Butter/Light Brown Sugar mix onto the inside of the roll, and sprinkle just a little more Cinnamon and Apple Pie Spice as well
6. Roll up and top with a little of the Butter/Light Brown Sugar mixture that's left in the bowl and a tiny sprinkle of Light Brown Sugar, Cinnamon, and Apple Pie Spice (to each roll)
*Before:
7. Place in oven for 8 min (depending on oven) and pull out of the oven to let them finishing baking on the hot cookie sheet (that you've placed on top of the stove or oven pad) for an additional 1-2 min.
8. Serve with some warm Tea (my favorite is Bengal Spice Tea lately) or Almond Milk and enjoy :)
1 Serving Size:
1 Mini Apple Pie Bite 118 calories
Total: 118 Calories 2.1 grams Protein 3.5 grams Fat 8 grams Sugar
*Check out these websites to learn more about Apple Pie and Sugar; these are just a few links:
http://ngm.nationalgeographic.com/2013/08/sugar/cohen-text
http://www.buzzfeed.com/tlo27/how-much-sugar-is-in-your-food#.oi86LXPAd
http://www.nhs.uk/chq/pages/1139.aspx?categoryid=51
http://www.livestrong.com/article/308270-calories-in-one-slice-of-apple-pie/
It's Fall and alas soup season has arrived in my home! It's my favorite food and warms my soul! This one is easy to prepare and the cooking happens all in the Crockpot!
Be sure to add your recipe into your myfitnesspal app and to weigh/measure out all of your portions!
Serves 4-6 people
Time: 6-8 hours
What you'll need:
4 Chicken Breasts, thawed
9 oz Carrots (I used baby carrots)
10 oz Celery (about 1 bunch)
10 oz Yellow Onion (1 medium onion)
5 oz Baby Spinach (1 container worth)
2 cups Noodles (I used Red Lentil Bean Noodles; they're high in protein and aren't fatty)
6 tsp Minced Garlic
6 cups 50% Less Sodium Chicken Broth
1 cup Water
1-2 Tbsp Fresh Lemon Juice
3 Tbsp Fresh Parsley, finely chopped
2 Bay Leaves
1/2 tsp Rosemary
1/2 tsp Thyme
1/2 tsp Ground Celery Seed
1/2 tsp Fresh Ground Pepper
1/2 tsp Kosher Salt
Directions:
1. Lightly spray the inside of your Crockpot with cooking oil
2. Dice up your Carrots, Onion and Celery
3. Trim your Chicken Breasts of any fat and extra skin
4. Put Chicken, Onion, Celery, Carrots, and Garlic into the Crockpot
5. Add Chicken Broth, Water, Bay Leaves, Rosemary, Thyme, Ground Celery Seed, Salt and Pepper
6. Set on High for 6 hours or Low for 8; your choice
7. After about 4-6 hours, take out Chicken and shred it and place back into Crockpot
8. Depending on what you set your Crockpot to, about 1 hour before you serve, add the Spinach
9. About 30 min to serving, set Crockpot to High and add Noodles, Parsley, and Lemon Juice. Cook until noodles are soft
10. Measure out and enjoy!
*Mine made about 15 cups worth!
**Brian enjoyed his with a Grilled Cheese and Tomato Sandwich and I served mine with some salt-free Saltine crackers!
1 Serving Size:
2 cups Chicken Noodle Soup 197 calories
5 Salt-Free Saltine Crackers 70 calories
Total: 267 Calories 24.7 grams Protein 1.4 grams Fat 20.9 grams Carbs
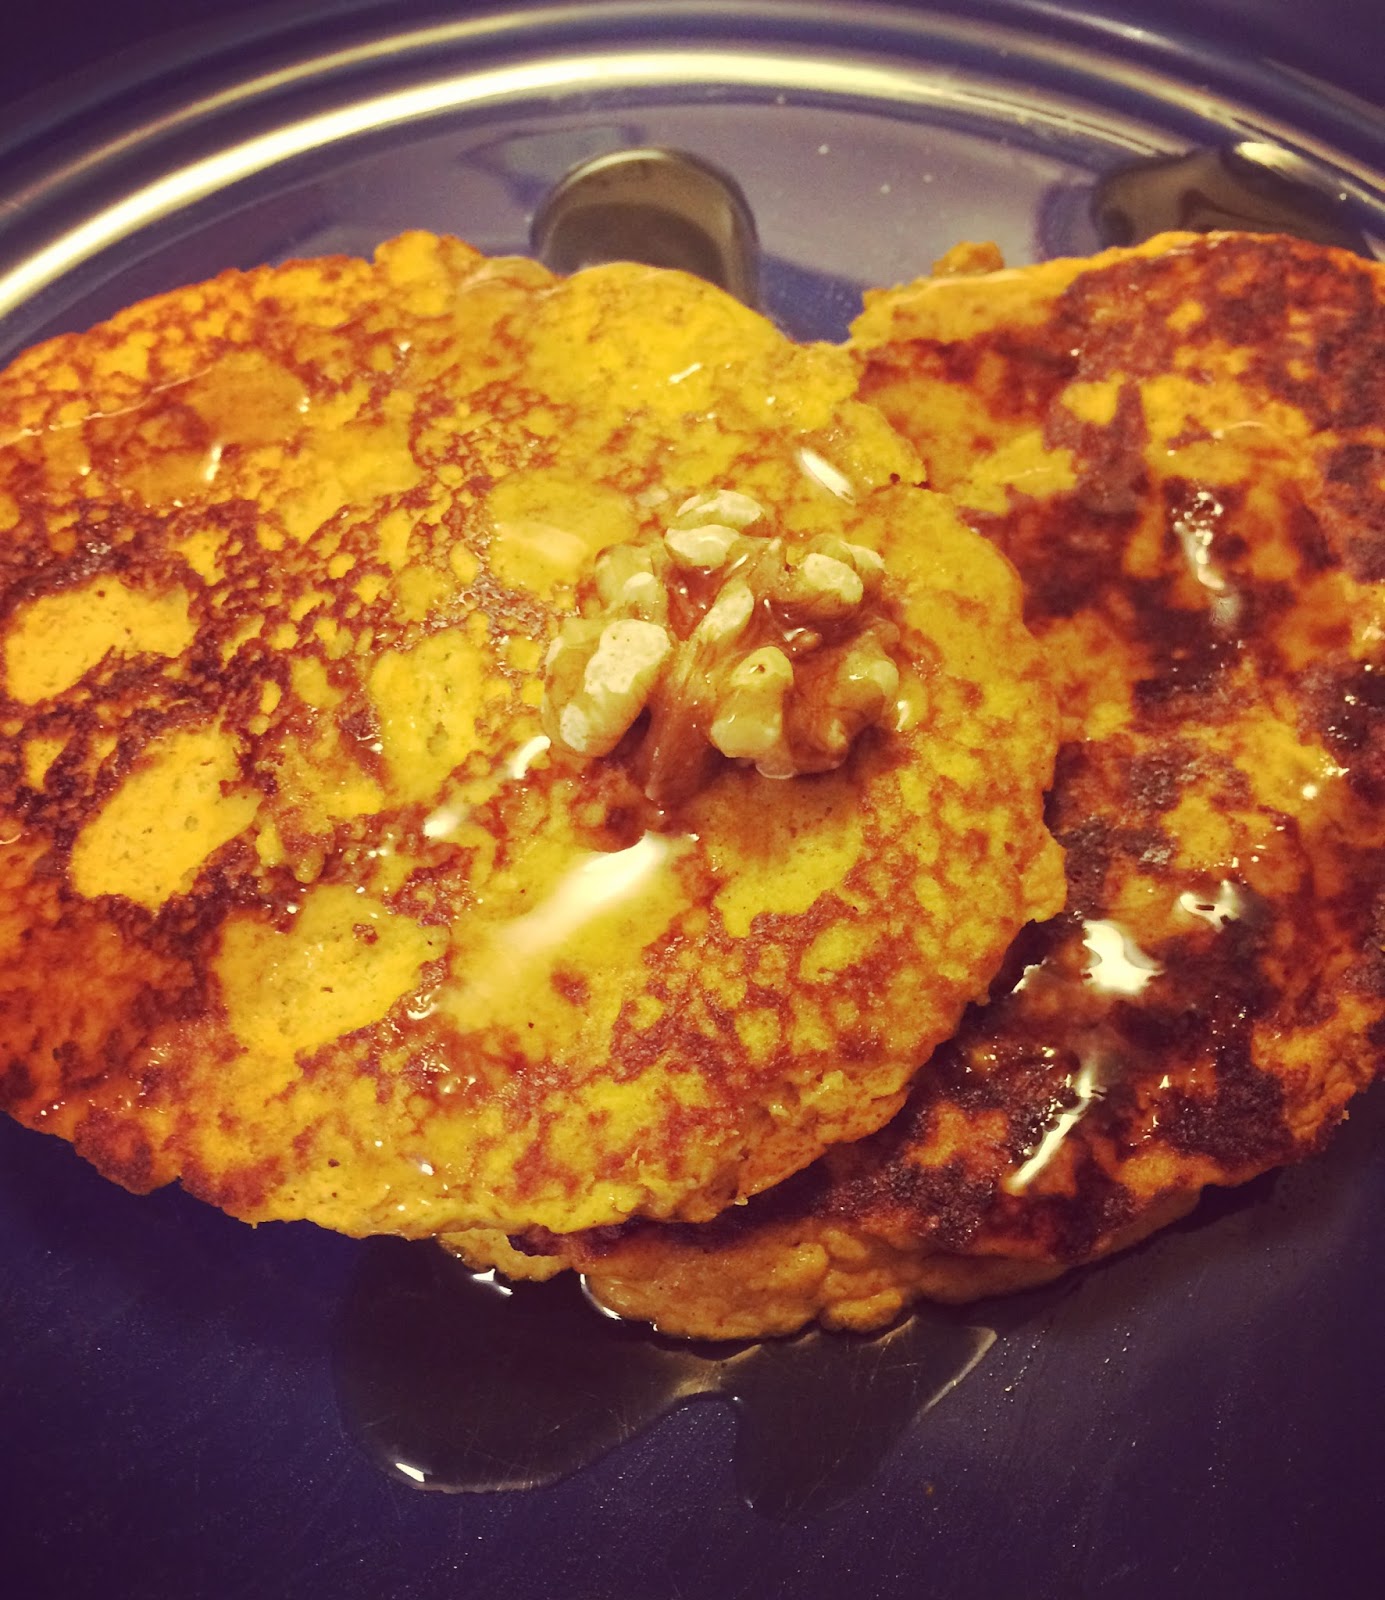
I love this time of year! Yes, I love PUMPKIN everything but I love all the other things about fall too! I was feeling extra chipper last Sunday so I thought I'd get my fix of pumpkin through a protein rich pancake!! WHOO! Enjoy!
Be sure to add your meal into your myfitnesspal app and to weigh/measure out all of your portions!
Serves 3-4 people
Time: 45 min
What you'll need:
1 can Pumpkin Puree (not pumpkin pie filling!!)
1/2 cup Egg Whites
2 scoops Vanilla Protein Powder (I used a ON performace Vanilla Whey)
1 Tbsp Ground Flax Seed (or flour of your choice)
1 Tbsp Water
2 tsp Pumpkin Spice
2 tsp Cinnamon
1 tsp Baking Powder
Directions:
1. Mix all ingredients together in a bowl. If it looks too thick add some water
2. Lightly spray a skillet or pan with cooking oil and light to medium heat
3. Making sure the pan is hot, using a 1/4 cup, scoop out 2-3 pancakes at a time. Thin them out if they're thick (mine were and I loved them this way)
4. Let them cook slowly! Mine took about 5-10 min each side; I know that seems really long but mine were thick so I let them cook. If you want that fluffy pancakes feel cook them covered, they will puff right up and cook faster :)
5. Serve with some warm syrup and walnuts and enjoy!
*Makes 9, 1/4 cup sized pancakes!
1 Serving Size:
2 pancakes 110 calories
7.5 grams No salt-Walnuts 50 calories
1/8 cup Mrs. Butter-Worth's Sugar Free Syrup 10 calories
Total: 170 Calories 15.8 grams Protein
I'm kind of on this Shrimp kick. I love Coconut Shrimp but it's not that healthy being deep fried and coated in flour and coconut. So I thought I'd dabble in some Shrimp recipes I thought up in my head. No background recipes either...let's hope you enjoy this Shrimp as much as we did! :P
*I used Frozen Raw Shrimp that's been peeled, deveined, and it's ready-to-cook, then I thaw it! 1 lb Shrimp cooks down to about 13-14 ounces. Serving size should be about 3 ounces of Crispy & Sweet Parmesan Coconut Shrimp, makes about 3 small servings worth.
Be sure to add your meal into your myfitnesspal app and to weigh/measure out all of your portions!
Serves 2 people
Time: 30 min
What you'll need:
15 oz - 1 lb Shrimp, thawed, un-cooked, peeled and deveined
1/4 cup Coconut (I couldn't find sugar free but if you can, try it!)
6 tsp Kraft Parmesean Cheese
3 Tbsp Egg Whites
1 tsp Cholula Original Hot Sauce
Directions:
1. Preheat oven to 400 degrees
2. In one bowl add Egg Whites and Cholula; mix thoroughly (wet mixture)
3. In another bowl add Parmesan, Coconut, and Pepper; mix together (dry mixture)
4. Have a cookie sheet lined with aluminum foil or use a cooling rack on top of a cookie sheet and lightly spray with cooking oil. The cooling rack will help you get that 360 crispiness you want instead of overcooking your shrimp (I don't have a real cooling rack so I improvised :)
5. Dip one Shrimp in the Wet mixture then straight into the Dry mixture and right onto your cooling rack sheet; repeat until all Shrimp have been coated and placed upon cooling rack sheet
*My set up:
6. Cook for about 6 min, then pop in the broiler for 2 more min until pink and crispy
*Before:
*After:
7. Measure out and enjoy!
*I served mine with some mixed salad!
1 Serving Size:
3 oz Crispy & Sweet Parmesan Coconut Shrimp 158 calories
Total: 158 Calories 18.7 grams Protein
I love spaghetti but I hate that I buy the sauce from a jar! They add so much junk to it, it hardly is really "light" or "healthy". So today I took the plunge! I googled a bazillion sauce recipes until I found a couple that gave me a good general idea of what to do and that was simple enough! I hope you enjoy this!
Mine made about 1 "jar" or 3 cups worth. Double/triple for your preference. If you use more tomatoes or onion or even add more veggies or meat etc, your nutritional information will change from what is listed below!
Be sure to add your meal into your myfitnesspal app and to weigh/measure out all of your portions!
Serves 2-4 people
Time: 4-5 hours*
What you'll need:
1.5 Lbs of Fresh Tomatoes (any kind, I used what I had Fresh Ripe Vine and Fresh Roma)
8 oz Yellow Onion
4 cloves of Garlic, minced
1 Red Pepper
.2 oz Basil (5-10 leaves)
1 tsp Dried Oregano
1 tsp Dried Thyme
1/2 tsp Kosher Salt
1/2 tsp Freshly Ground Pepper
*1 small can Tomato Puree if needed*
Directions:
1. Grab Crockpot, lightly spray with cooking oil
2. Depending on how you like your sauce, either dice or simply cut up your Tomatoes and Onion and throw into the Crockpot
3. There are many ways to roast peppers. This is what I choose; roasting your Red Pepper: wrap Red Pepper twice in Aluminum Foil, place on gas stove top, medium heat, flip every 5 min for a total of 20-25 min. Take off heat and let it cool. Once cooled peel off charred skin (I leave some on to add to that smokey flavor), take out stem and seeds (you can leave the seeds in for extra spice). Dice and throw into Crockpot
4. Add all Spices including the Garlic and Basil into the Crockpot
5. Set on High for 3-5 hours-the longer the better
6. You can choose to blend sauce for less chunks and more smoothness, depends on your taste. I used an immersion blender for a few pulses to break up the last of the onions. You could also use a blender or food processor. Add 1/2 small can of Tomato Paste or 1 Tbsp Corn Starch (equal parts water) for thickness if you feel its necessary (I used corn starch)
*After a dip with an immersion blender:
7. Serve up or throw into a container for later! This freezes well or can be canned! I threw mine into a freezer bag and used it for the next time we had spag night!
**Serve with Spaghetti Squash Noodles and some Ground Turkey to really take this healthy sauce full circle!
1 Serving Size:
1/2 cup Roasted Red Pepper Spaghetti Sauce 40 calories
Total: 40 Calories
This meal comes to you from Pinterest (see below for the link)! :P I needed some new and different dinner ideas and Brian suggested something with Shrimp. I do NOT cook seafood nor eat it unless I see the coast (I know, whaaaat?) but I thought I'd make an exception because I love him ;)
*Note: I used frozen, peeled and deveined raw shrimp (ready to cook). I thawed it by running it through cold water, letting it sit for 5-10 min, then straining it in a colander and letting it rest until my Fennel was sliced.
Be sure to add your meal into your myfitnesspal app and to weigh/measure out all of your portions!
Serves 4 people
Time: 30-45 min
What You'll Need for the Garlic Shrimp:
1 pound Shrimp, thawed, un-cooked, peeled and deveined
4 Cloves Garlic,
minced or chopped (your preference)
1/2 tsp Dried Oregano
1/2 tsp Dried Basil
8 tsp Grated Parmesan (I used Kraft)
Juice of a Lemon (about 1-2 Tbsp worth)
Salt and Pepper to taste
What You'll Need for the Fennel & Arugula Salad with the Lemon Vinaigrette Dressing:
5 ounces Baby Arugala
3-5 ounces Fennel, thinly sliced
1 Tbsp EVOO
1 tsp Lemon Zest
2 Tbsp Fresh Lemon Juice
1/4 tsp Salt
Pepper to taste
1/8-1/4 cup Fresh sliced Parmesan to serve
Directions for Garlic Parmesan Shrimp:
1. Preheat oven to 400 degrees
2. Line a cookie sheet with aluminum foil and lightly spray with cooking oil
3. In a bowl, add your thawed Shrimp, minced Garlic, Oregano, Basil, Parmesan cheese, Salt & Pepper. Toss thoroughly
*If you like some spice, add some Tony's Creole Seasoning :)
4. On your cookie sheet, spread your coated Shrimp evenly, no overlapping pieces. Lightly spray with cooking oil
5. Cook for about 6-8 minutes
6. Top with a spritz of Fresh Lemon Juice, measure out portions and enjoy!
Directions for Fennel & Arugula Salad and the Lemon Vinaigrette Dressing:
1. In a large serving bowl add your washed Arugula, sliced Fennel
2. In a dressing jar or over your salad add EVOO, Lemon Zest, Lemon Juice, Salt, & Pepper. Mix well
3. Place over salad, tossing so it gets covered. Top with Fresh Parmesan cheese
4. Measure out portions and serve immediately! Enjoy!
*Pair both together for an amazing, full of flavor, quick dinner!
1 Serving Size:
3.3 ounces Garlic Shrimp 152 calories
1/4 of your Fennel & Arugula Salad with the Lemon Vinaigrette Dressing 65 calories
Total: 217 Calories
*Thanks to http://damndelicious.net/2014/12/05/garlic-parmesan-roasted-shrimp/ for this awesome and simple Garlic Parmesan Shrimp recipe. I changed a few things to fit my palette and cooking style, but overall simply divine! As for the Fennel & Arugula Salad and Lemon Vinaigrette Dressing, I simply saw it on the Food Network Channel-Rachael Ray's "3 in a Bag"-so my hat is off to her :)
Let's face is, Ratatouille is healthy lol I just omitted EVOO and added more veggies than normal! Makes a ton and is so tasty! Can freeze up to 3 months too!
*Disclaimer: I am no French Chef! I saw the Disney movie and thought yum I want to try it out someday, so I found an Americanized version :)
Be sure to add your meal into your myfitnesspal app and to weigh/measure out all of your portions!
Serves 8 people
Time: 1 hour 30 min
What You'll Need:
1/2 Onion, finely chopped (about 8 ounces)
2 Garlic cloves, finely chopped
1 small Eggplant (mine was WAY too big; next time I will cut it into quarters)
1-2 small Zucchini
1 Yellow Squash
1 Red Bell Pepper
1 cup Tomato Puree
¼ tsp. Oregano
¼ tsp. Crushed Red Pepper Flakes
Some Fresh or Dried Thyme
Salt and Pepper to taste
Directions:
1. Preheat oven to 375 degrees
2. Slice and chop all your veggies. Onions and Garlic can be sliced or diced. Everything else should be in even slices
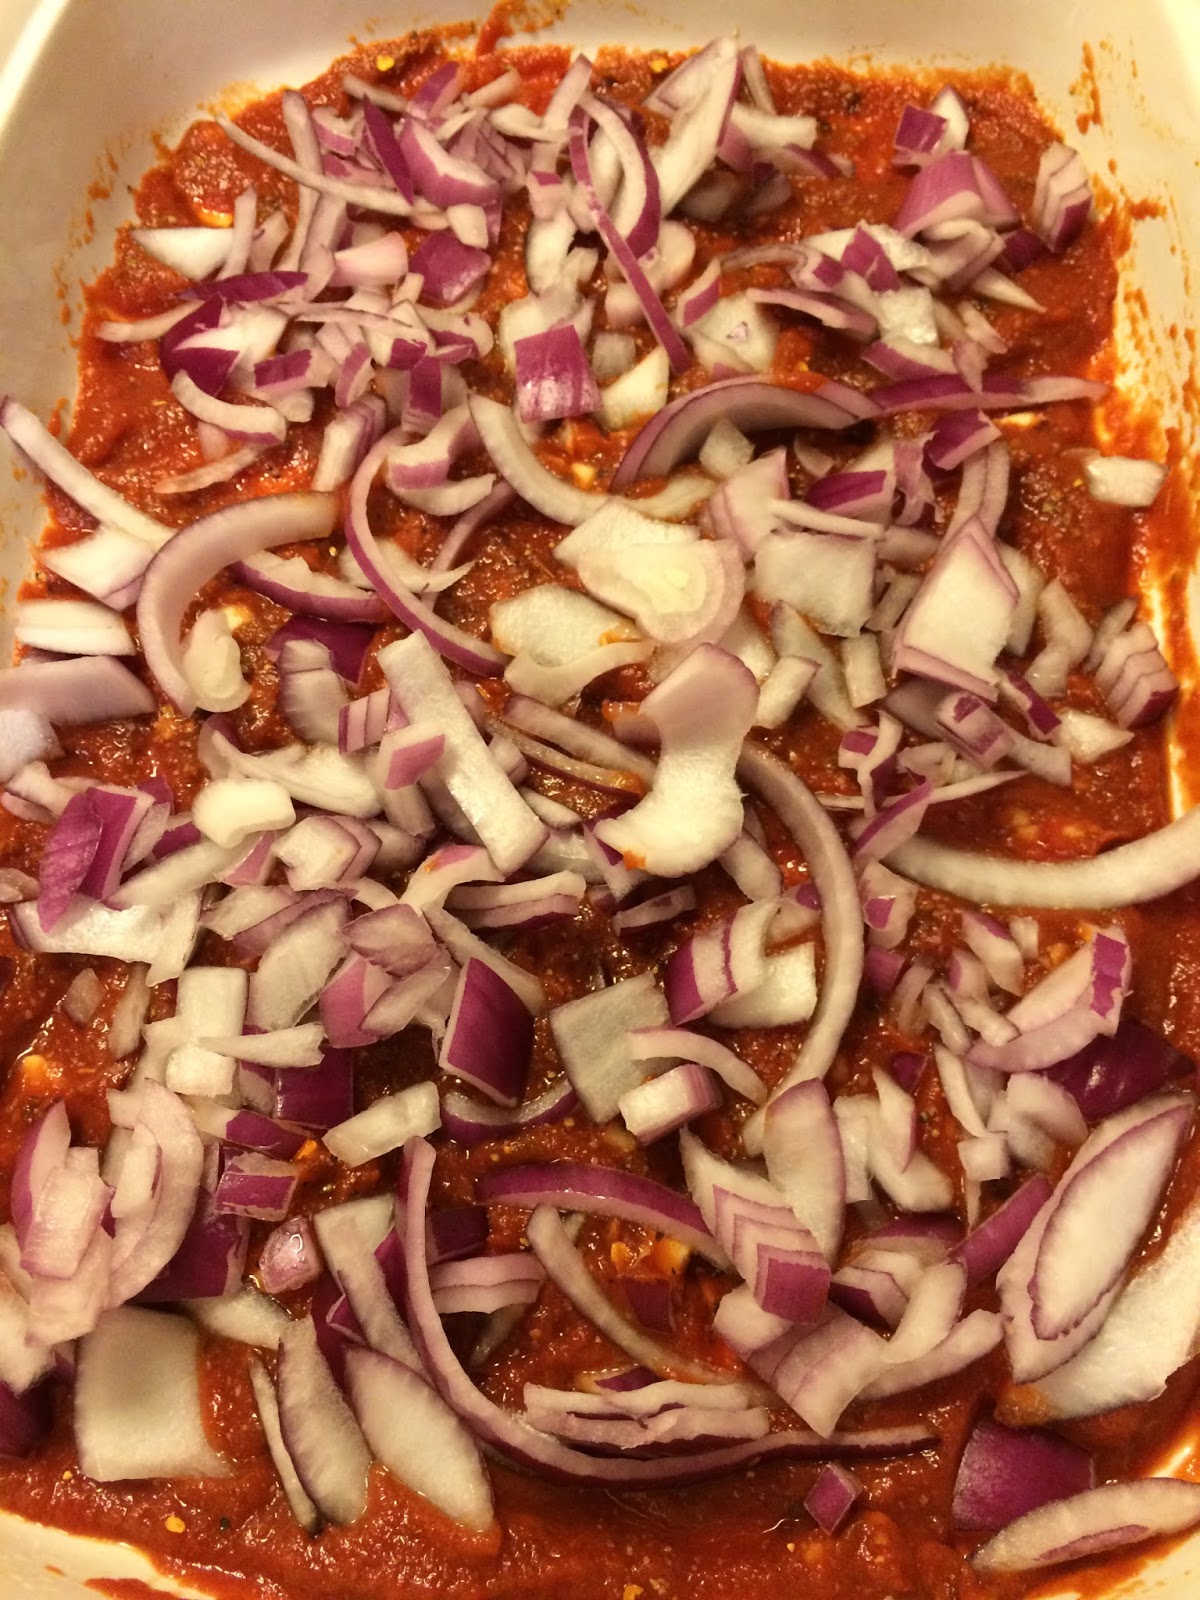
3. In a circular or square oven dish that's been lightly sprayed with cooking oil, pour Tomato Puree into the bottom. Drop the Garlic, Oregano, Crushed Red Pepper, Salt, Pepper into the sauce and stir it all together, making sure to coat the bottom of the dish as best you can. Then sprinkle in the Onions
4. With your evenly cut Zucchini, Yellow Squash, Red Bell Pepper, and Eggplant, begin to layer, starting on the outside/rim of the dish and moving your way into the middle and alternating your veggies. Mine turned out kind of ugly and I had a little bit let over, but that's okay you can save them or toss them
*Line up:
*Realizing I should have quartered my huge eggplant LOL:
5. Lightly spray the top of the veggies, sprinkle some Fresh Thyme and place some aluminum foil over the dish
*Ready for the oven:
6. Cook for 45-60 min. Veggies and sauce should be bubbling but the veggies should not be soggy and limp
7. Serve up and enjoy!
**I served mine with some Chicken Breast and tossed a dollop of Goat Cheese atop of my Ratatouille-the Goat Cheese adds the creamy omg factor!!
1 Serving Size:
1 cup Ratatouille 62 calories
1/2 ounce Goat Cheese 35 calories
Total: 97 Calories
*Thanks to www.thecomfortofcooking.com/2010/08/layered-ratatouille.html for this awesome and simple recipe. I changed a few things to fit my palette and cooking style, but overall simple divine!